SystemRescueCd guide
SystemRescueCd ISO to USB: Setup for UEFI and BIOS
The cleanest SystemRescueCd workflow starts with correctly prepared boot media. An ISO image is written as an image, then selected through the firmware boot menu.
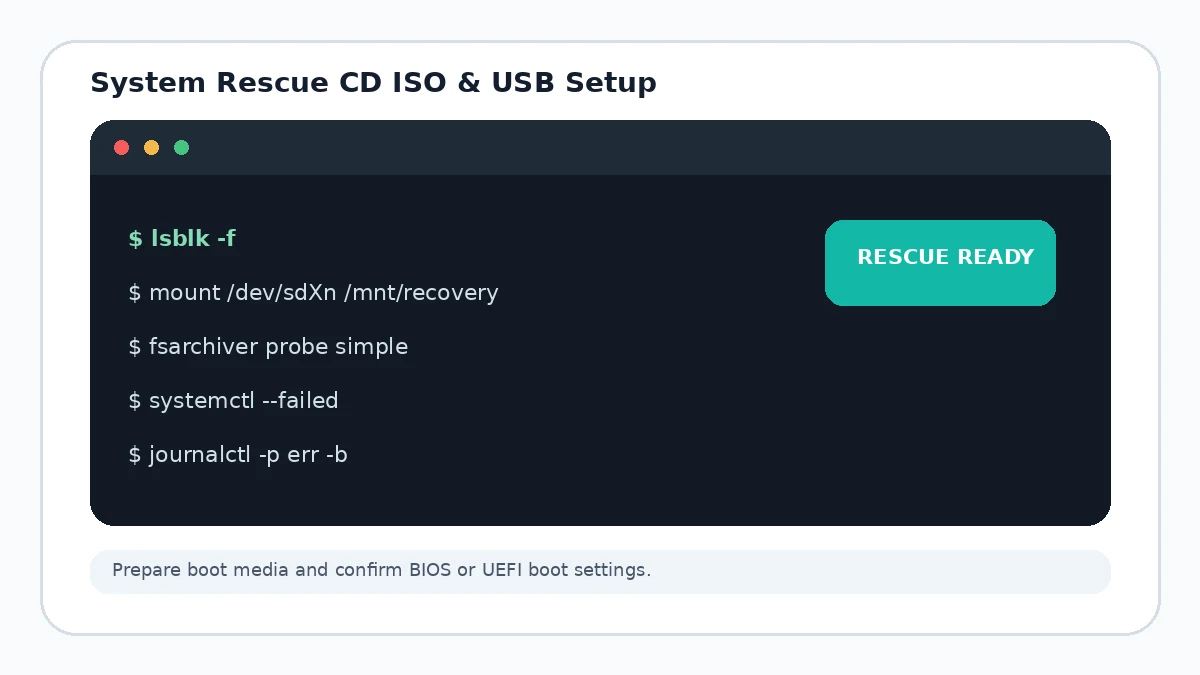
Create bootable media deliberately
Choose a USB device that can be erased, then write the System Rescue CD ISO as an image. When the write completes, safely eject the media and use the computer's one-time boot menu.
UEFI versus legacy BIOS
Modern systems typically use UEFI. Older devices may rely on classic BIOS. SystemRescueCd supports both paths, but the firmware setting and boot entry must match what your computer exposes.
First boot options worth knowing
copytoram loads the rescue system into memory, while setkmap=xx selects a keyboard layout. A basic graphics option such as nomodeset can help when the display path fails.
Common setup mistakes
- Copying the ISO file onto a USB instead of imaging it.
- Booting the internal disk instead of the removable device.
- Using a damaged USB stick.
- Skipping checksum verification after a suspicious download.