Disk discovery
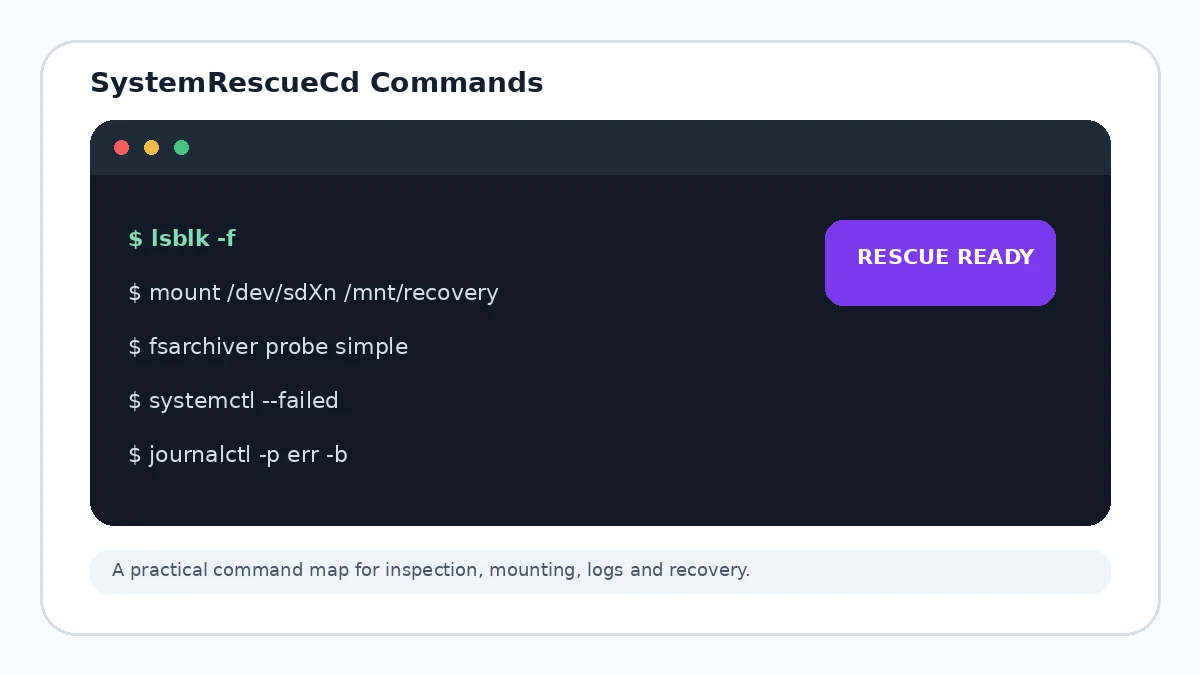
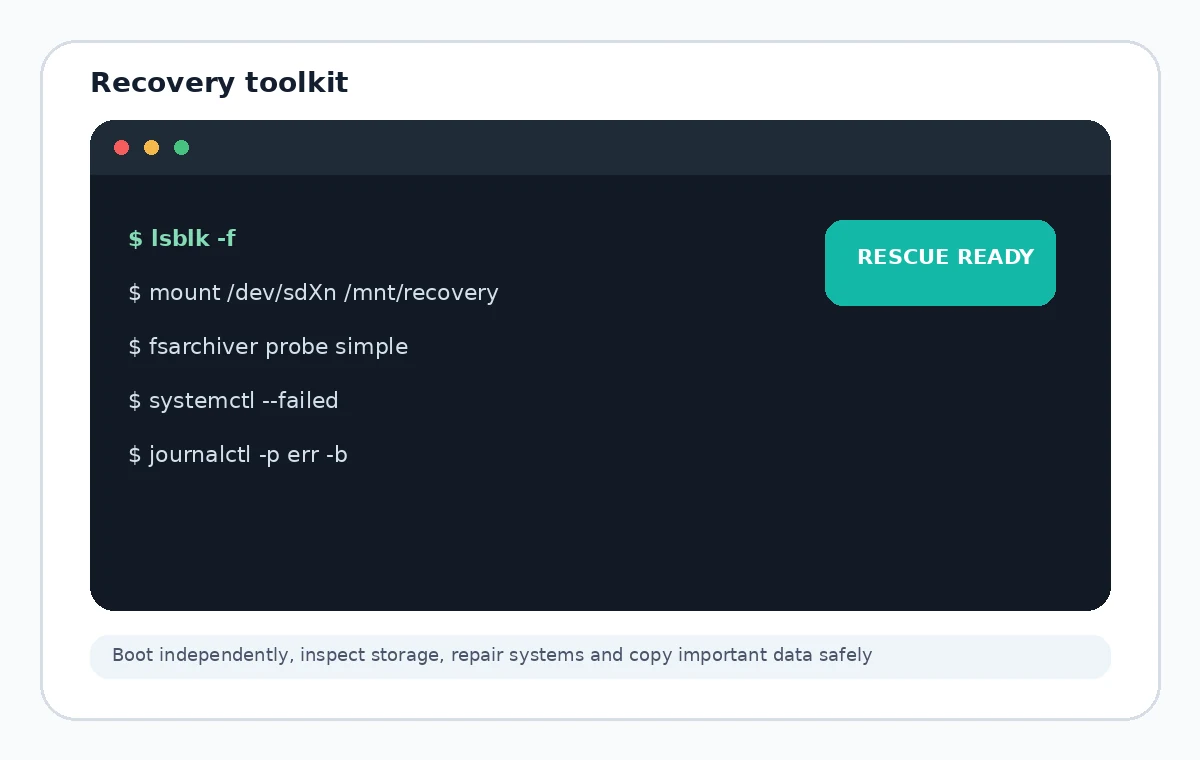
Identify block devices, partitions, labels, UUIDs and mount state before you touch storage.
Boot • inspect • recover
SystemRescueCd is a bootable rescue environment for disk inspection, data recovery, filesystem work and system troubleshooting. This independent guide keeps the workflow focused and safety-first.
What is SystemRescueCd?
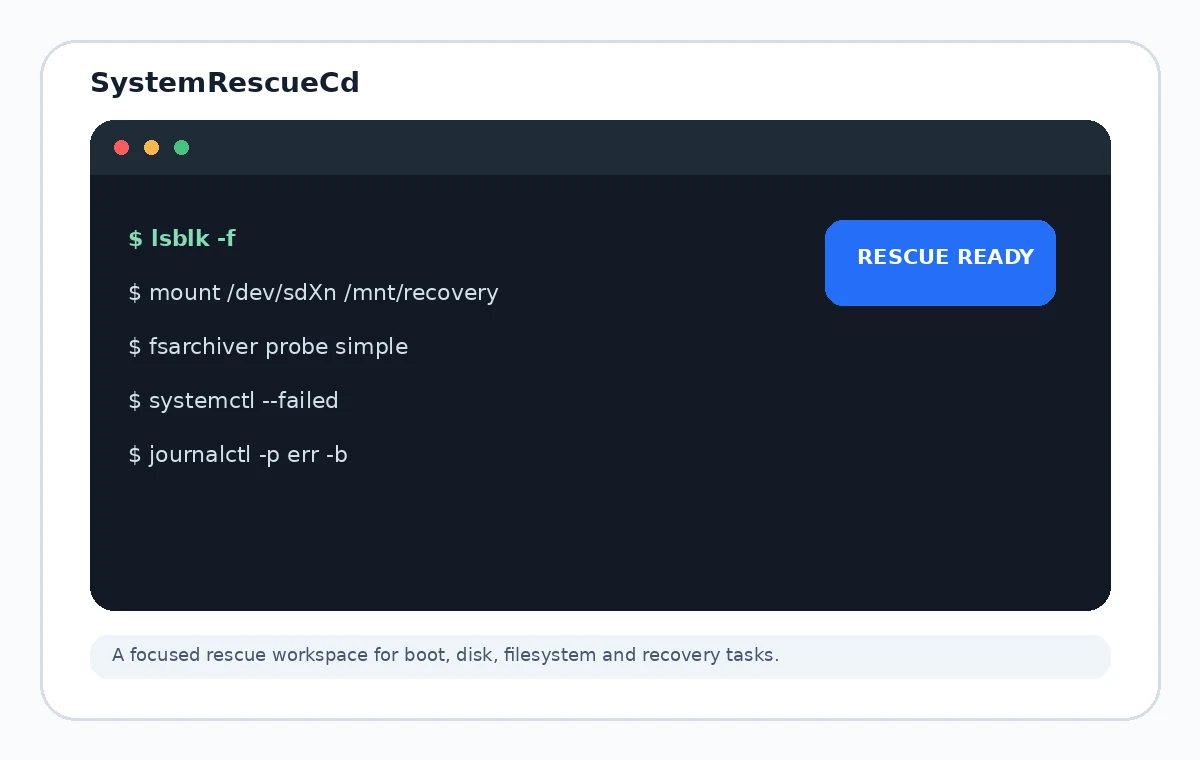
SystemRescueCd is a Linux-based environment designed to boot separately from the operating system installed on a computer. That makes it useful when the main OS is damaged, inaccessible or unsafe to modify directly.
Features
A minimal utility layout puts the important capabilities first instead of burying them in decorative panels.
Identify block devices, partitions, labels, UUIDs and mount state before you touch storage.
Work with common Linux and Windows filesystems using the appropriate included utilities.
Copy valuable data or create images before attempting risky repair operations.
Inspect and manage partition layouts with command-line or graphical tools such as GParted.
Configure connectivity for remote administration or secure data transfer when needed.
Mount installed systems, inspect logs and use chroot-based maintenance for authorized repairs.
How it works
Rescue work is safer when discovery and data protection happen before modification.
Use a verified ISO or approved package and create bootable media carefully.
Select the rescue device from UEFI or BIOS without relying on the installed OS.
Confirm disks, partitions and filesystem state with non-destructive discovery tools.
Protect important data, then use the right tool for the specific repair.
Compatibility
Current SystemRescueCd releases focus on 64-bit AMD/Intel systems. Older 32-bit releases are historical rather than current.
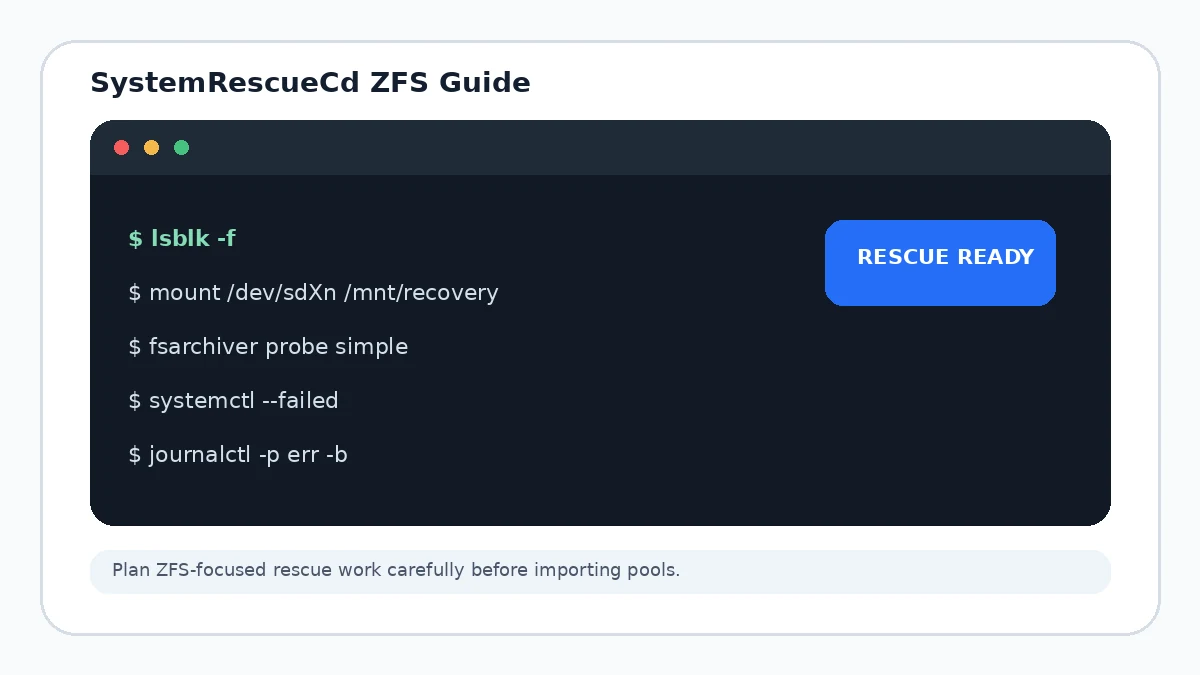
Common rescue workflows include ext4, XFS, Btrfs, FAT and NTFS. ZFS requires particular care because pool import choices can modify state; inspect the exact environment and modules before acting.
Use cases
Copy important data from a system that no longer boots normally.
Inspect filesystems, mount an installation and repair configuration where authorized.
Identify partitions, filesystems and disk health signals before deciding what to do next.
Create or adjust storage layouts when you understand the destructive implications.
Download
The button below uses the download URL supplied for this website: a GitHub archive for systemrescue-zfs. It is not the official numbered SystemRescue ISO mirror.
Download SystemRescueCdFor upstream context, The current upstream release 13.02 was published on August 1, 2026 for amd64. Verify checksums and signatures whenever you use an official ISO.
Installation / Setup
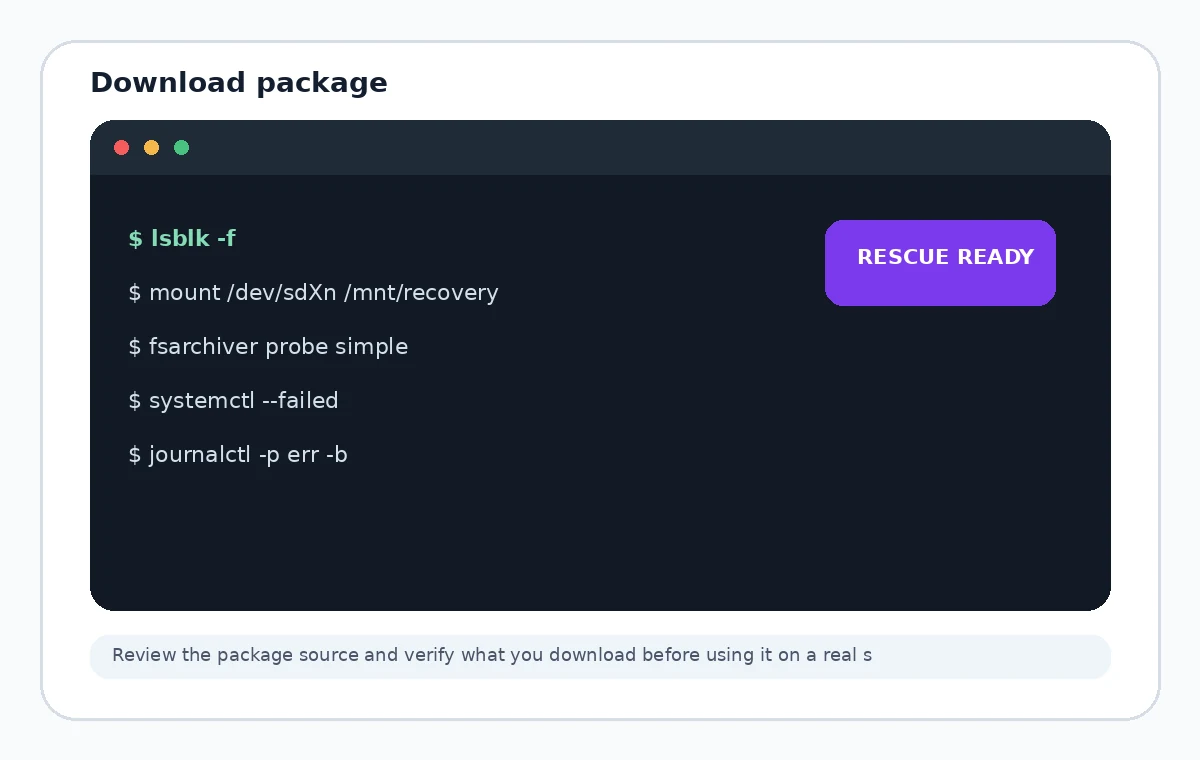
The supplied download URL is a ZIP source archive, not an ISO image. Do not write a ZIP archive to a USB device and expect it to behave like the official SystemRescue ISO. Read the package contents and build instructions first.
Safety notice
Pros and cons
Release information
These details describe the upstream SystemRescue release, not the separate ZIP archive used by this site's main download button.
Troubleshooting
nomodeset boot option, then investigate the graphics stack.Guides preview
FAQ
Exactly twenty practical answers covering the environment, compatibility, setup and recovery workflow.
It is a bootable Linux rescue environment used to inspect disks, copy data, repair filesystems, work with partitions and troubleshoot computers that may not boot normally.
SystemRescue is the current project name; SystemRescueCd is a widely searched legacy name. This independent site uses SystemRescueCd for discoverability while describing the current rescue workflow.
Yes. The usual workflow is to boot the rescue environment from prepared removable media so the installed operating system does not need to start.
Current SystemRescue media supports modern UEFI and classic BIOS boot workflows. Firmware settings and removable-media priority still need to be configured correctly.
The rescue environment includes tools for common Linux and Windows filesystems, including ext family filesystems, XFS, Btrfs, FAT and NTFS. Tool availability can vary by release.
ZFS availability depends on the image, included modules and the workflow you use. Treat pool imports carefully and prefer read-only inspection before making changes.
No current 32-bit release is maintained. Older i686 builds existed historically, but modern SystemRescue focuses on 64-bit AMD/Intel systems.
It can inspect and mount common Windows filesystems such as NTFS, subject to disk state, encryption and filesystem health.
Yes. The environment includes networking tools and can be used for tasks such as remote access or copying data, provided the network and firewall are configured safely.
For current releases, 2 GB is a practical minimum for normal booting, while workflows that copy the system into RAM require more memory.
Use a trusted USB imaging method to write the ISO as bootable media, then select that device from the computer firmware boot menu.
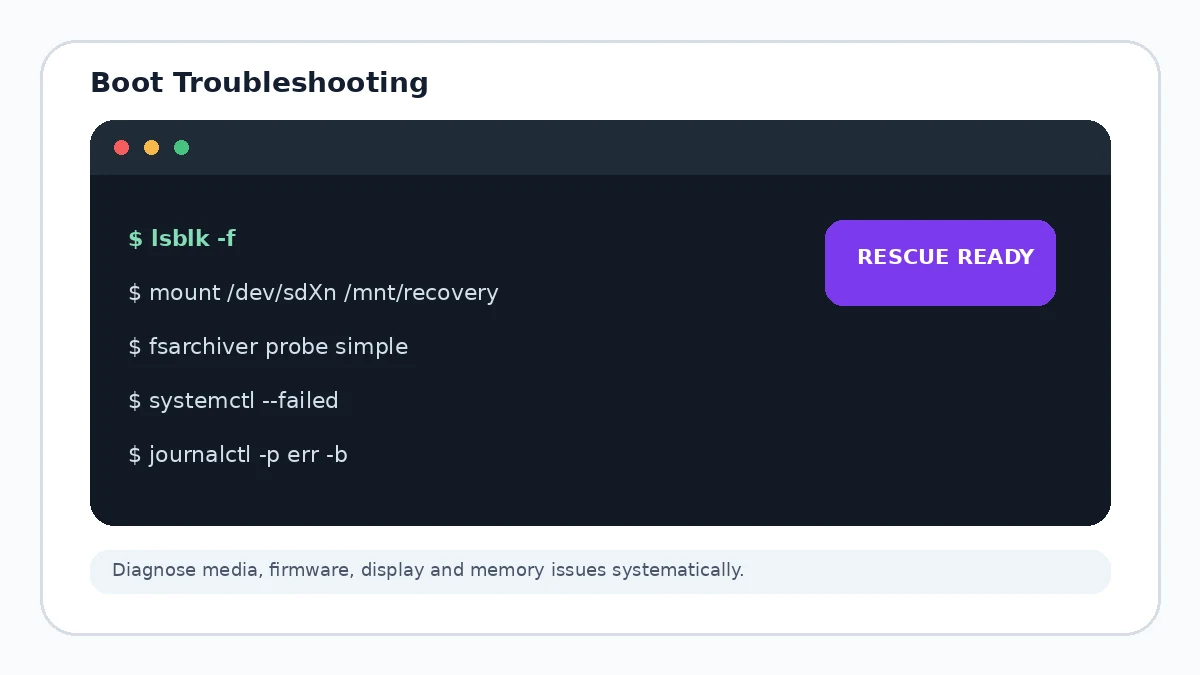
Verify the download, rewrite the USB, try another port or device, review BIOS or UEFI settings, and test memory if failures are inconsistent.
Start with non-destructive discovery commands such as lsblk, blkid, findmnt and journalctl. Confirm device names before running any command that writes to disk.
Yes. Read-only inspection reduces accidental changes while you identify the correct device, assess damage and decide how to protect recoverable data.
Use only authorized recovery on computers you own or administer. Prefer Microsoft's supported account recovery, an approved administrator workflow, or organization IT procedures before considering offline methods.
Compare device size, model, partition layout, filesystem labels and UUIDs before mounting, imaging or repairing anything. Never assume /dev/sda is the intended disk.
The copytoram boot option loads the rescue system into memory so the original boot media can be removed after startup. It needs additional RAM.
A basic display mode such as nomodeset can help when the optimal graphics path does not display correctly. You can then troubleshoot drivers or hardware separately.
Yes. Checksum or signature verification helps detect an incomplete or altered download before you rely on the media for recovery.
Back up or image important data when practical, identify the exact filesystem and tool, review repair implications, and avoid writing to the only copy of valuable data.